
The August 2010 Daring Bakers’ challenge was hosted by Elissa of 17 and Baking. For the first time, The Daring Bakers partnered with Sugar High Fridays for a co-event and Elissa was the gracious hostess of both. Using the theme of beurre noisette, or browned butter, Elissa chose to challenge Daring Bakers to make a pound cake to be used in either a Baked Alaska or in Ice Cream Petit Fours. The sources for Elissa’s challenge were Gourmet magazine and David Lebovitz’s “The Perfect Scoop”.
So, I decided to make the Baked Alaska and to make it on the 26th, yes, yesterday! No, not overconfidence.. ok, perhaps, just a tad bit. And, I was paid back well for it with a blistered finger, a messy kitchen and overall annoyance.
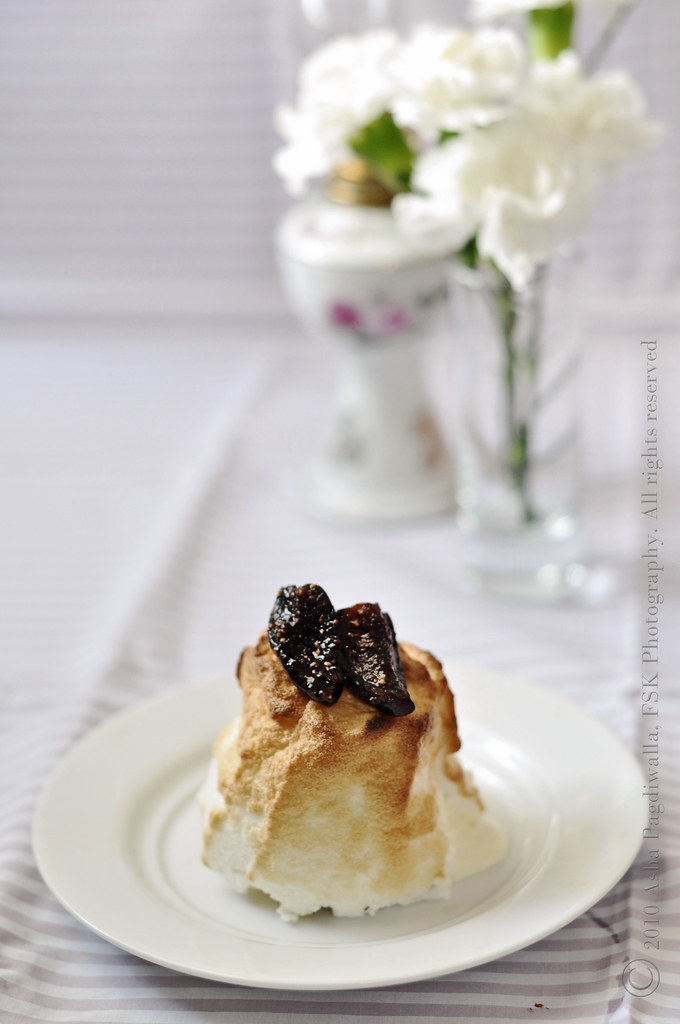
That photo up there looks pretty decent doesn't it?! Ah! but if only, you look closely, you'll catch a bit of the unmitigated disaster, this challenge proved to be! And, the cause of it, and I must make a point of it here, was NOT my 11th hour (over) confidence. But, merely the lack of required equipment - the Blow Torch.
The secret to the Baked Alaska is the gorgeous browned meringue overcoat, which, I cannot emphasise enough, is best achieved using a handheld blow torch. Needless to say, I do not possess one but that was not to stop me. I had read somewhere that egg whites being poor conductors of heat, that golden effect could be achieved in an oven too. That warmed my heart. I could complete the challenge after all!
Sagacious Deeba warned me that it may not work but youthful hotheadedness and a true yearning to Bake (pun definitely intended) the Alaska made me plunge head first. The journey started late (very) Wednesday night as I churned my ice cream into the wee hours of 2 am (much to the annoyance of my neighbors, I am sure.. My mixer is LOUD!).
The ice cream recipe is my own and the only deviation form the DB recipe for this dessert. In the morning, the ice cream was perfect; simply decadent and totally worth the effort and midnite coffee run. But, after that things unravelled.
I have never eaten or attempted making a pound cake because of just that; a pound of everything does not make my wardrobe fitting! If not for this challenge, I wouldn't have made it and after this, I will not be making it again. Way too rich for me. I much prefer the lighter sponges.
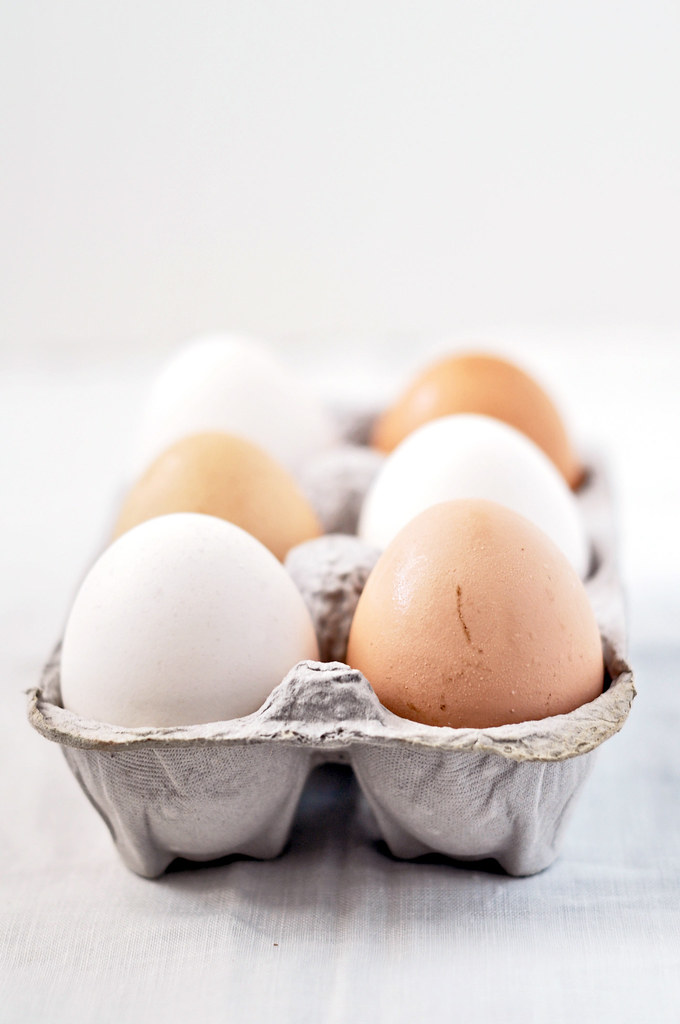
Then, it was time to make the meringue and assemble the Alaska. Ah! But many pitfalls ahead. The meringue just wouldn't whip to the right consistency. I don't know if it was because I used very fresh eggs (they were only a few days separated from the chicken in the farm). I managed to get it on somehow and once in oven, it looked fine for about 30 seconds. After that, something told me, it wasn't going right and it didn't. The ice cream was MELTING!!!!!
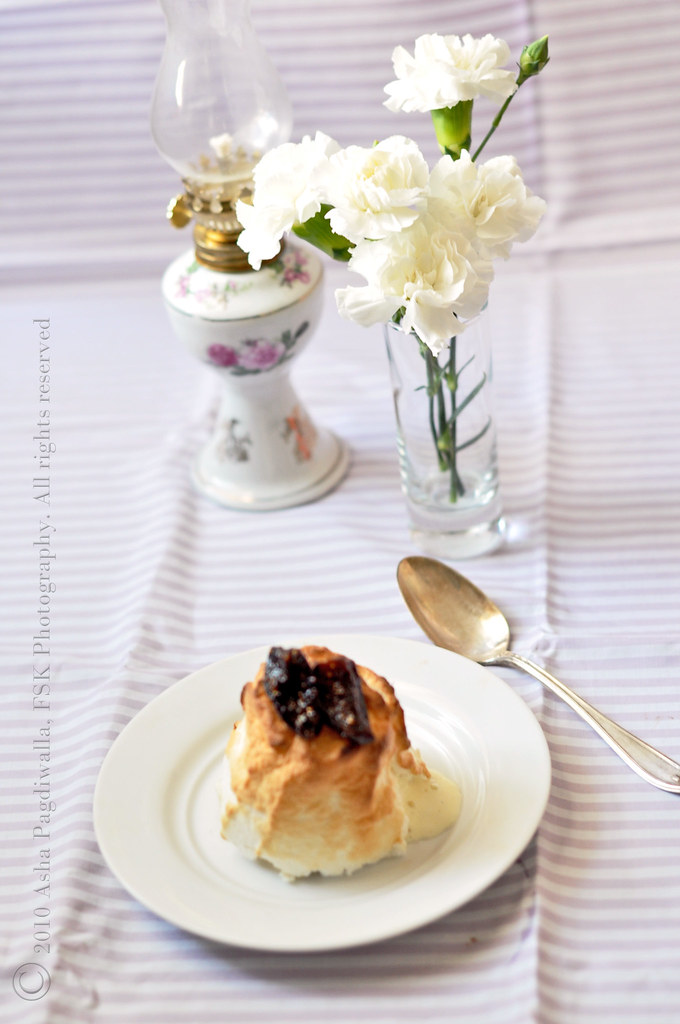
In my haste to get it out before further damage, I burnt my finger.. sigh. I stuck the Alaska in the freezer for a few minutes. But, alas, the damage was done. I decided to salvage as much as I could for the photo and cry later....
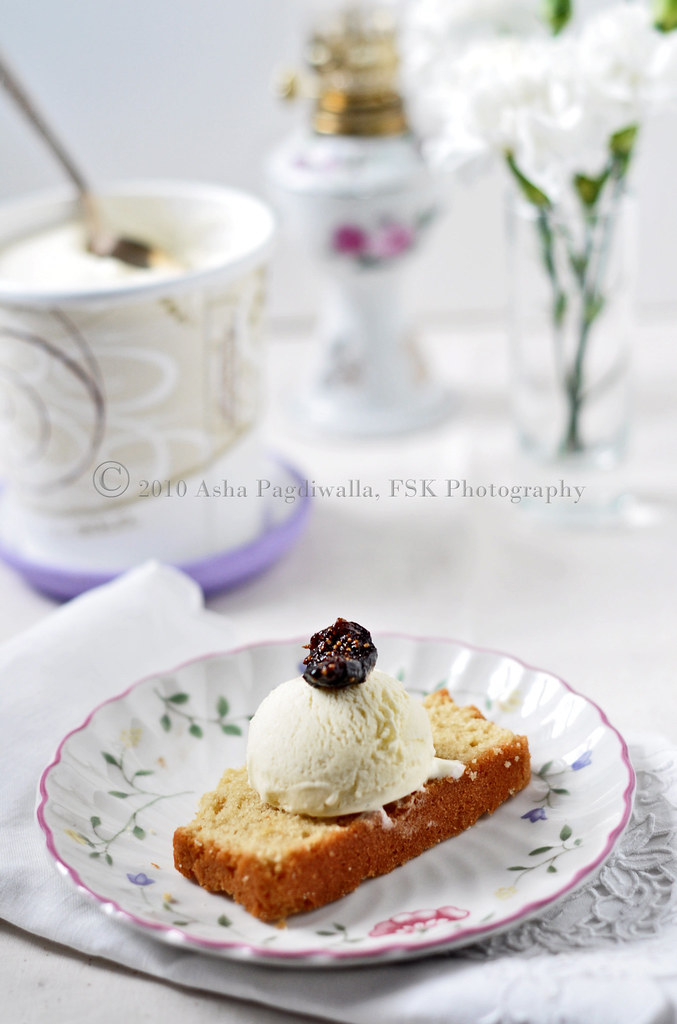
So, that's the story. Nevertheless, my ice cream is bowl licking good!! :)) Oh! And, I am getting an ice cream maker soonly! YIPPEE!! More on that later ;-)
Recipe for the Baked Alaska recipe is here
Vanilla Ice Cream
2-1/4 cups half and half or light cream
3 egg yolks
1/3 cup + 2 T sugar
1-1/2 tsp vanilla bean paste or seeds of 2 vanilla pods
By hand, cream the yolks and sugar together until light yellow in color. Meanwhile, heat the half and half until just barely simmering. Remove the pan from heat. Slowly, and while continuously whisking the mixture, incorporate the hot milk into the yolk mixture.
To prepare the custard, pour the mixture back in to the pan and over medium heat, gently heat the mixture, stirring often. The mixture will start to thicken. Continue heating until the mixture coats the back of a wooden spoon (about 8 - 10 minutes) and if you run your finger along the back of the spoon, the streak remains without the cream running down through the streak.
Remove from heat immediately. Do not over heat as the eggs will curdle (done that before!). Whisk the mixture for a minute to stop the custard from cooking further. Strain through a fine sieve to remove any lumps or scrambles. Cool the mixture to room temperature.
Cover the custard with plastic wrap and refrigerate for atleast two hours until completely chilled. At this point, you can process the mixture in an ice cream machine according to manufacturer's instructions.
If you don't have an ice cream machine, once the custard mixture is cold, move it to the freezer. After about 45 minutes, check on the mixture. If it has started freezing on the edges, remove and whip up the mixture with a hand-held mixer to break the ice crystals and incorporate some air to create the fluffiness.
Return to the freezer and repeat the whisking every hour, three more times. By this time, volume of the ice cream would have doubled. If it hasn't, then you are not whisking enough each time. After the final repetition, gently fold in the reserved peach chunks and freeze the mixture for atleast 6 hours or overnight.